
- Published on
Using the Indream OpenClaw Plugin: A Friendly Walkthrough

The Indream OpenClaw plugin connects an OpenClaw agent to Indream's video capabilities. The agent can discover read-only capabilities, prepare a workflow, request a quote, and create an editable project after you confirm the content and cost. It must verify asynchronous tasks before reporting a finished video.
This guide covers installation, credentials, permissions, profile selection, and a first workflow. The exact tool description and schemas published by the connected MCP server always take precedence over examples in this article.
What you'll need before starting
- An OpenClaw gateway running version 2026.4.2 or later
- An Indream account (we'll create an API key and top up in Step 2)
- An AI agent inside OpenClaw that you'd like to let drive the plugin
That's it.
Step 1: Install the plugin
Open your OpenClaw terminal and run these two commands:
openclaw plugins install @indreamai/openclaw-plugin
openclaw gateway restart
The first command installs the plugin. The second restarts your gateway so the new plugin is picked up. If the restart finishes without errors, you're ready for the next step.
Step 2: Get your API key and top up your account
Before the plugin can talk to Indream, it needs a key. Here's how to get one:
- Visit API Keys and sign in with your Indream account.
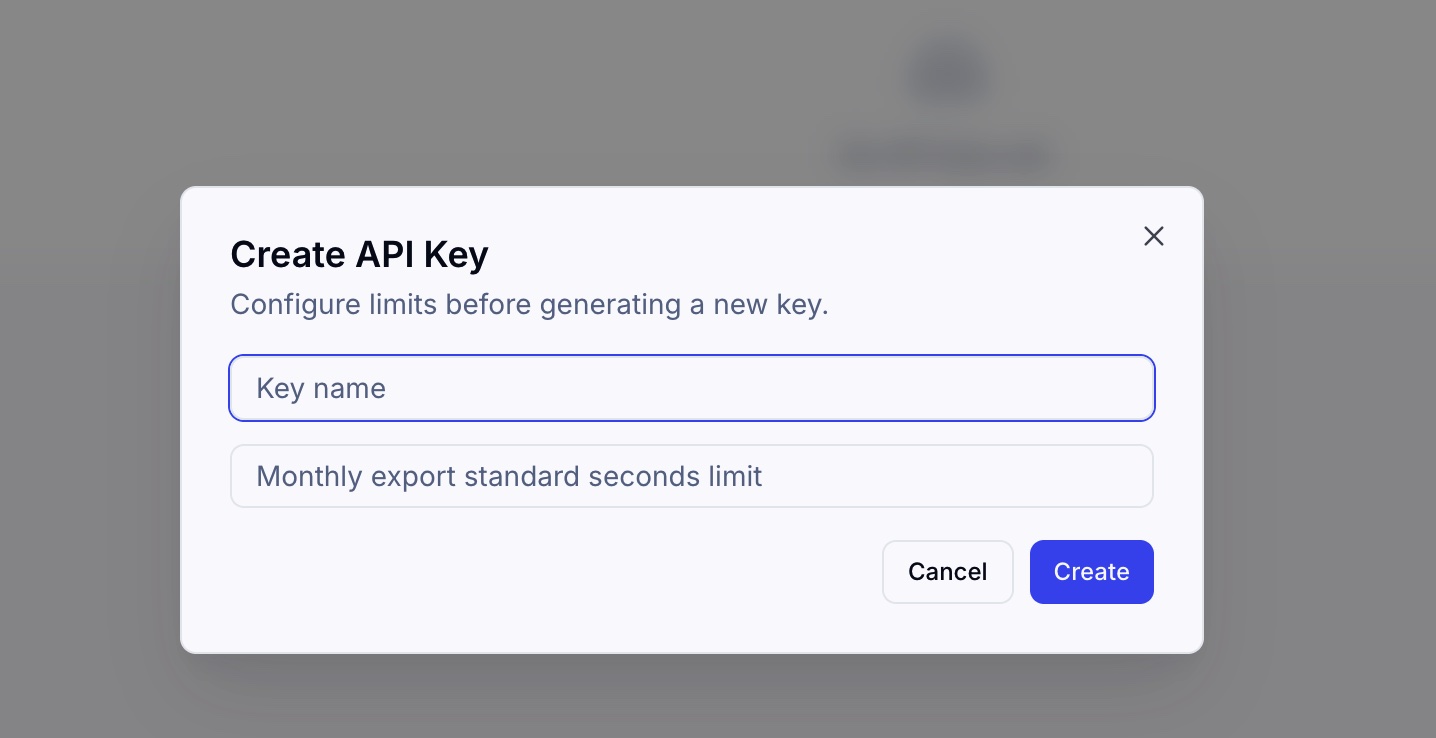
- Click Create API key. Give it a name you'll recognize later, for example "OpenClaw workstation".
- Copy the key right away. For security reasons, we only show the full key once. If you lose it, just create a new one.
One important note on billing. Indream's video services run on a credit balance, so you'll need to top up your account before your first render. You can add credit from the same developer area. If you try to kick off a render with an empty balance, the request will fail politely and ask you to top up first.
With your API key in hand and some credit in the account, you're ready to configure the plugin.
Step 3: Add your key and basic settings
The plugin's configuration lives under plugins.entries.indream.config in your OpenClaw configuration. A complete, healthy setup looks like this:
{
  plugins: {
    entries: {
      indream: {
        enabled: true,
        config: {
          apiKey: "indream_xxx",
          baseURL: "https://api.indream.ai",
          timeoutMs: 60000,
          pollIntervalMs: 2000,
          uploads: {
            allowLocalPaths: true,
            allowRemoteUrls: true,
          },
        },
      },
    },
  },
}
What each setting means, in plain language:
apiKey: the key you just created in Step 2. Paste it here. Nothing works until this is set.baseURL: the Indream service address. Leave it at the default unless our support team asks you to change it.timeoutMsandpollIntervalMs: how long operations are allowed to run, and how often the plugin checks in on them. The defaults work well for most people.uploads.allowLocalPaths: lets the plugin read files from your computer. Set totrueif you want to hand it local photos or videos.uploads.allowRemoteUrls: lets the plugin fetch files from web URLs. Same idea, for online sources.
Step 4: Decide what the plugin is allowed to do
When the plugin is enabled, keep discovery and read-only tools available first. Actions that upload, modify, export, transfer, or create billable media should be opt-in. A tool permission authorizes access; it does not replace user confirmation for destructive or paid work.
To let your agent use everything the plugin offers, add this to your tools settings:
{
  tools: {
    allow: ["indream"],
  },
}
Or if you'd prefer finer control, allow only the specific write actions you need:
{
  tools: {
    allow: [
      "indream_video_auto_edit_create",
      "indream_video_long_to_short_create",
      "indream_video_doc_to_video_quote",
      "indream_video_doc_to_video_create",
      "indream_video_idea_to_doodle_quote",
      "indream_video_idea_to_doodle_create"
    ],
  },
}
You can always adjust this later.
Step 5: Choose a capability profile
The Indream MCP server groups tools by the least powerful profile that can complete a request:
safe-default: connection, projects, assets, capabilities, tasks, and quote discovery.workflow: automatic edit, long-to-short, Doc to Video, and Idea to Doodle.editor: manual timeline operations, generation, compile, still rendering, and export.expert: every available tool for an explicitly requested diagnostic or manual task.
Ask the server to use workflow for a complete automated video request and editor for manual timeline work. Profile filtering controls which tools are shown; scopes and confirmations still apply when a tool is called.
Step 6: Assets and illustrations
Once the plugin is active, your agent has two ways to bring visual materials into a video.
Uploads. You can hand it files from your computer, or give it web URLs. Each upload is stored and can be reused in later steps, so you only upload once. Indream also runs a quick analysis on each image, so your agent has a rough idea of what's inside (faces, logos, clean backgrounds, text) and can place it thoughtfully.
Built-in illustrations. Indream ships with a library of ready-to-use illustrations such as chat bubbles, rockets, and sparkles. Every one of them can be recolored to match your brand. Your agent can search the library and drop any of them into a scene.
Step 7: Making your first video
With the plugin installed, credentials configured, and the needed write permissions granted, tell your OpenClaw agent what you want. The agent should discover the exact tool contract, show the production choices, request a quote when the workflow is billable, and wait for your cost confirmation before creating anything.
Here's the kind of thing you can say:
"Use Indream to create a 30-second product teaser from these three photos. Show me the production plan and quote first. After I confirm the cost, create the editable project and export an MP4."
One sentence is enough. You can step away and come back to a finished preview.
Troubleshooting the common cases
A few of the most common things that can go wrong, and how to handle them:
- Missing credentials. Requests fail until
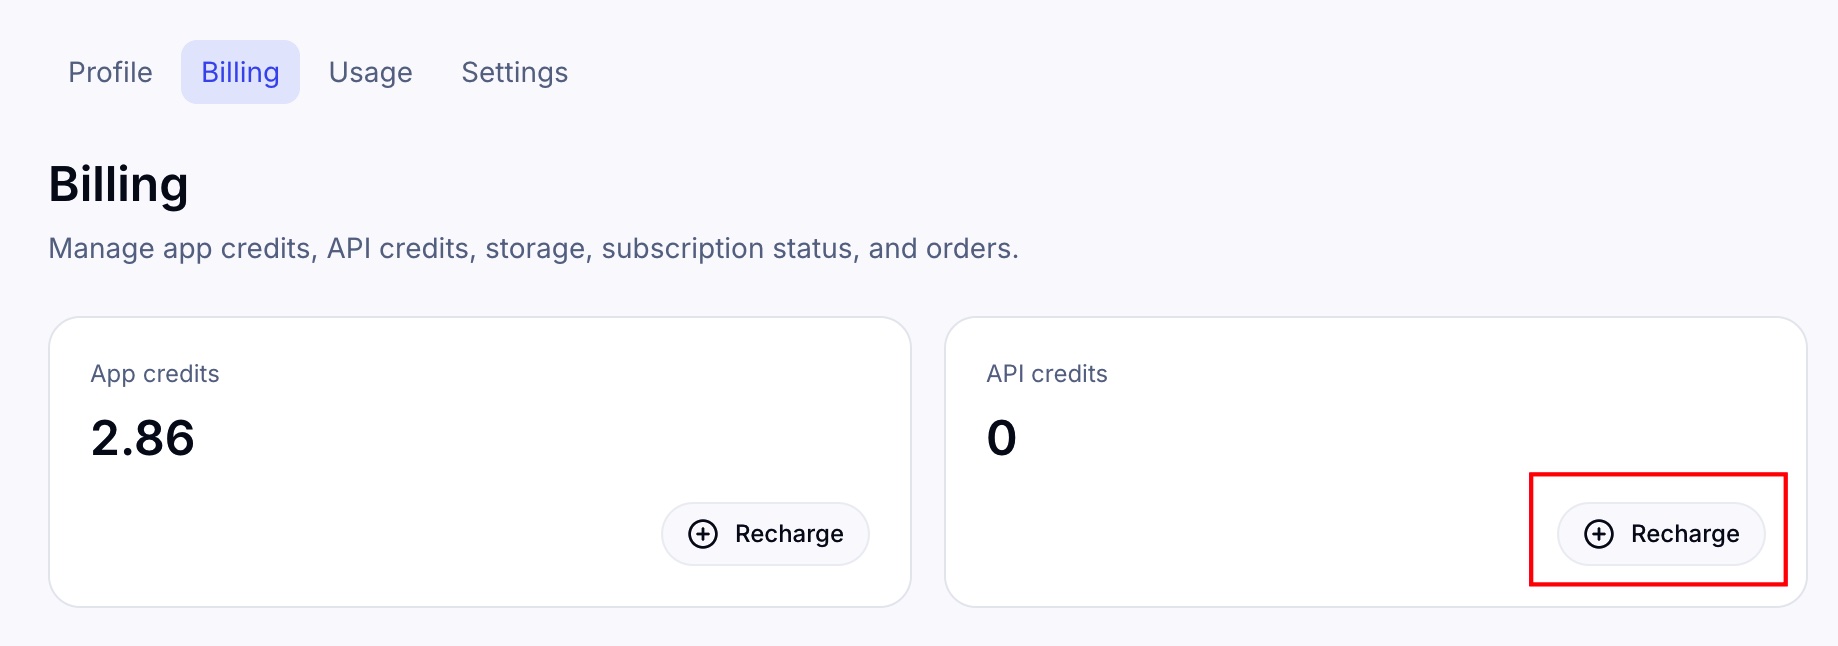
apiKeyis set in your config. Double-check that you pasted the key correctly. - Empty balance. If your Indream account has no credit, a quote or creation call may fail. Resolve the balance issue at Billing, then request a fresh quote; never reuse an expired quote.
- Agent can read but can't upload or export. The write tools are not in your allow list or the active profile. Add only the specific tools you need, then request the
workfloworeditorprofile. OPEN_API_RUNTIME_ACCESS_FORBIDDEN. Your key is valid, but the resource you're trying to reach is outside its scope. Check with whoever manages your Indream account.- A step reports something's missing. Resolve the missing source, voice, capability, scope, or confirmation in the conversation. A create response means the task was accepted; let the agent poll the task to a terminal state before treating the output as complete.
That's the whole thing
Install the plugin, grab your API key, top up your account, grant the permissions that fit your comfort level, and start chatting with your agent. From there, making a video is just a conversation.
If you want to dig deeper, the full technical reference lives at Video Editor API. Otherwise, go make something.
- Authors

- Name
- Official
- Website
- Indream